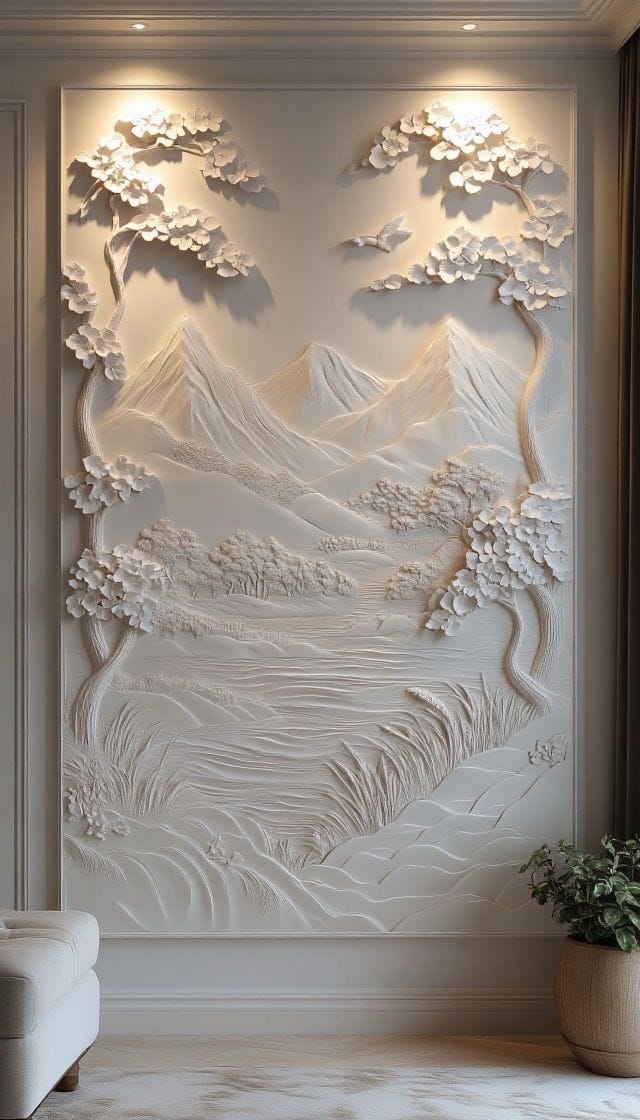
A beautiful mural begins long before the first brushstroke. In fact, wall preparation before mural painting plays a major role in how smoothly the artwork develops and how well the finished paint performs. Therefore, homeowners and commercial clients should prepare the wall properly before the mural artist arrives. A clean, stable and dry surface gives the artwork a better foundation. Professional painting guides also recommend checking the wall for dirt, cracks, loose paint and moisture before painting begins. Proper wall preparation plays an important role in creating a clean and durable surface for mural painting.
Wall Preparation Starts With a Clean Surface
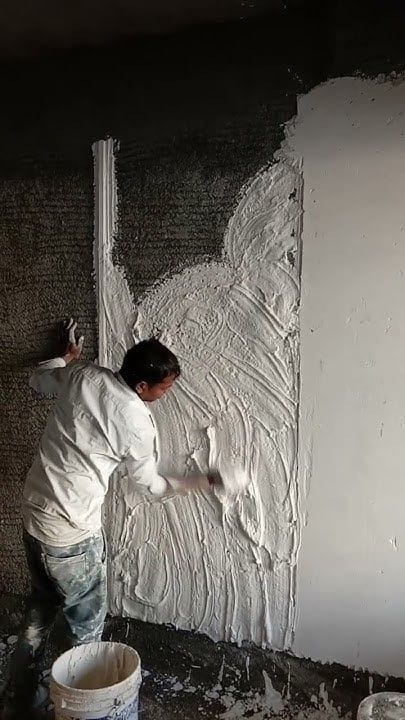
First, remove furniture, frames, shelves and decorative objects from the mural area. Next, clear enough working space around the wall so the artist can move comfortably. Dust, cobwebs, grease and surface marks should also be removed. Moreover, a mild cleaning method is usually suitable for many interior walls, while greasy surfaces may require a suitable cleaner. Most importantly, allow the wall to dry completely before painting.
Check the Wall for Damage
Before any mural work starts, inspect the surface carefully. Look for nail holes, cracks, dents, peeling paint and loose plaster. If these problems are ignored, they can affect the mural’s appearance and paint adhesion. Consequently, small holes and cracks should be filled with an appropriate repair compound, followed by sanding once the material has dried. Sherwin-Williams similarly recommends scraping loose paint, filling imperfections and sanding repaired areas before painting. Good wall preparation also includes repairing cracks, holes, peeling paint, and uneven areas before the mural work begins.
Make the Surface Smooth
After repairs, the wall should be checked for rough patches and uneven areas. Therefore, light sanding may be required to create a more consistent painting surface. This step is particularly useful when the existing wall has glossy paint, visible repair marks or rough sections. However, excessive sanding is not always necessary. The preparation method should depend on the wall material and its current condition.
Check for Dampness and Moisture
Moisture is one of the biggest concerns before mural painting. For this reason, inspect the wall for damp patches, bubbling paint, mildew or recurring stains. If moisture is coming through the wall, the underlying issue should be addressed before artwork begins. Otherwise, paint adhesion and long-term appearance can suffer. In addition, new plaster and masonry should be properly cured and dry before painting. Once the basic wall preparation is complete, the surface can be evaluated for sanding and priming.
Apply the Right Primer
Once the wall is clean, repaired and dry, primer may be required. Primer can help create a more uniform surface and improve adhesion, especially on porous walls, repaired areas or surfaces with stains. However, the correct primer depends on the substrate and paint system. Therefore, discuss the wall condition with your mural artist before selecting a product. Benjamin Moore also recommends priming where needed after cleaning, sanding and repairs. For more details you can visit to our page.
Protect the Surrounding Area
Meanwhile, prepare the floor, furniture and nearby fixtures for the painting process. Cover vulnerable surfaces and protect trims, switches and fittings where necessary. Also, keep the mural wall accessible throughout the scheduled work. This simple preparation helps the artist concentrate on the artwork instead of moving objects or dealing with avoidable obstacles.
Give the Wall Enough Drying Time
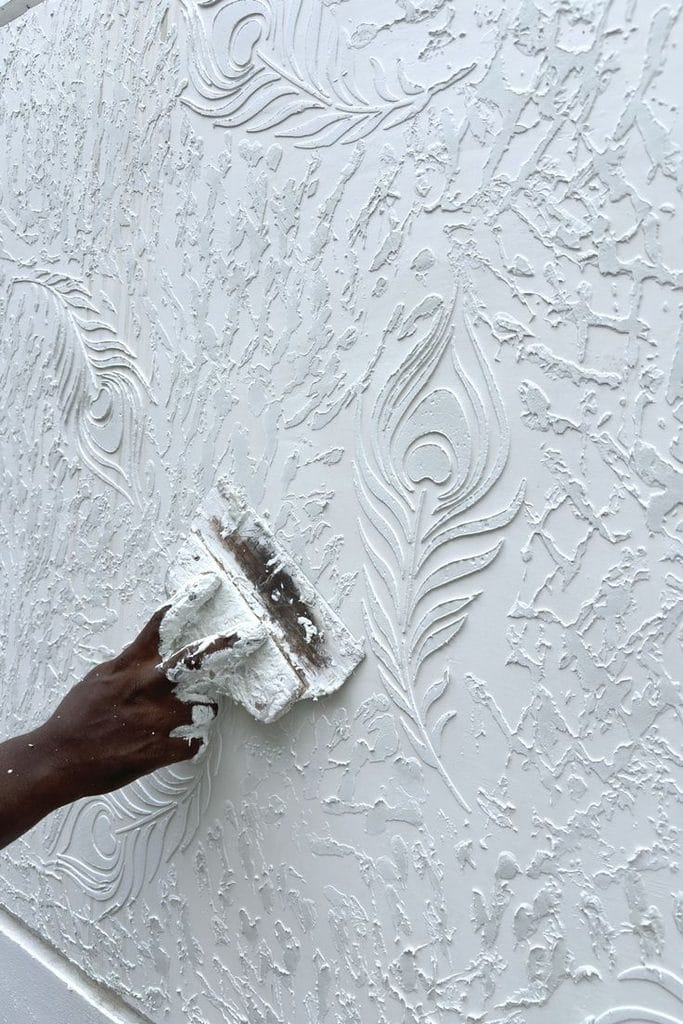
Finally, do not rush the preparation process. After cleaning, repairs, sanding or priming, the wall needs sufficient time to dry. A surface may look dry while retaining moisture underneath. Therefore, the artist should begin only when the wall is properly ready. Good preparation takes a little extra time; however, it can prevent avoidable problems during mural painting.
Useful Painting Resources
For additional guidance, you can explore Sherwin-Williams’ “How to Prep Surfaces for Painting,” “How to Repair Walls,” and “How to Prep Walls for Painting” guides. How to Prep Surfaces for Painting How to Repair Walls How to Prep Walls for Painting
You can also read Benjamin Moore’s “How to Prepare Walls for Painting” and “How to Clean Walls Without Damaging Paint” for additional surface-care information. How to Prepare Walls for Painting How to Clean Walls Without Damaging Paint
For artists working with acrylic systems, GOLDEN’s technical resources also discuss surface preparation and adhesion for different substrates. GOLDEN Acrylic Technical Resources
Frequently Asked Questions
Should I clean the wall before a mural artist arrives?
Yes. Remove dust, grease, cobwebs and loose surface material. Additionally, allow the wall to dry completely after cleaning.
Should cracks be repaired before mural painting?
Yes. Small cracks, holes and dents should generally be repaired and sanded before the artwork begins.
Is primer always necessary for a mural?
Not always. Primer depends on the existing surface, wall material, paint condition and mural paint system. Therefore, the artist should assess the wall first.
Can a mural be painted on a damp wall?
It is not recommended. Moisture problems should be resolved first, because dampness can interfere with paint adhesion and durability.
Do I need to remove furniture before mural painting?
Ideally, yes. Clearing the mural area provides better access and gives the artist sufficient working space.
What is the most important preparation step?
The wall should be clean, sound, smooth where required and completely dry before mural painting begins. Proper preparation helps create a reliable surface for the artwork.
Conclusion: Before you come to paint a mural, prepare the wall rather than simply preparing the room. Clean the surface, repair damage, check for moisture, sand rough areas, use primer when appropriate and allow everything to dry properly. As a result, the mural artist can spend more time creating the artwork and less time correcting surface problems.
External Resources
- National Park Service – Preservation Briefs
https://www.nps.gov/orgs/1739/preservation-briefs.htm - Sherwin-Williams – Surface Preparation Guide
https://www.sherwin-williams.com/homeowners/how-to/prep - Benjamin Moore – Surface Preparation
https://www.benjaminmoore.com - Painting and Decorating Association
https://www.paintingdecoratingassociation.co.uk
Latest Posts
8 Tips for Outdoor Mural Relief Walls That Last (2026)
An outdoor mural relief turns a plain exterior wall into a striking, three-dimensional feature — but only when it’s planned […]
What Materials Are Used for Mural Relief?
Mural relief materials play an important role in determining the depth, strength, texture, and finish of three-dimensional wall art. Mural […]
How Much Do Wall Murals Cost? A Complete Guide for Every Space
Wondering about the wall mural cost before starting your project? A mural is a custom artwork painted directly onto a […]
Where to Buy Residential Wall Murals: A Practical Guide for Homeowners
Choosing residential wall murals is no longer limited to visiting a local décor shop. Today, homeowners can explore painted murals, […]
How Do Lighting Effects Impact Relief Murals?
Relief mural lighting plays an important role in showing the depth, texture, and details of three-dimensional wall art. However, their […]
Seal and Protect Delicate Relief Artwork: 7 Expert Tips for Walls
Seal and protect delicate relief artwork the right way, and it can last for decades without losing its character. Relief […]