
Seal and protect delicate relief artwork the right way, and it can last for decades without losing its character. Relief artwork adds texture, depth, and character to interior walls. However, unlike flat painted surfaces, raised artwork requires careful protection against dust, moisture, scratches, and daily wear. Therefore, understanding how you seal and protect delicate relief artwork on walls is essential for maintaining its original appearance for years.
Whether relief art is created using plaster, cement, gypsum, or mixed materials, the correct sealing process helps preserve intricate details while increasing durability. Moreover, selecting suitable protective coatings ensures that the artwork remains visually appealing without changing its natural finish.
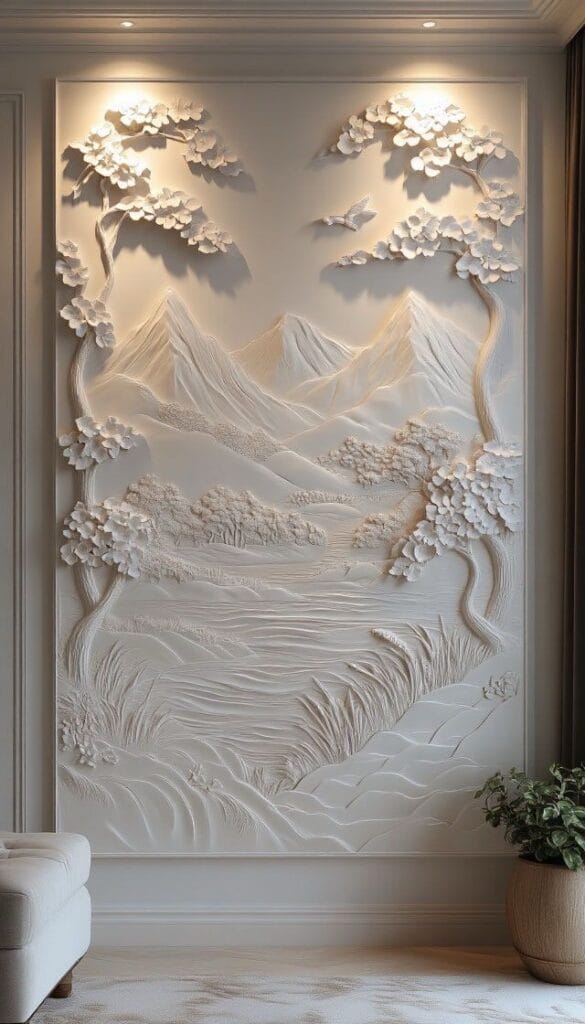
Why You Need to Seal and Protect Delicate Relief Artwork
Relief wall art contains raised surfaces and fine textures that naturally collect dust more quickly than smooth walls. Consequently, unprotected artwork may gradually lose its visual definition. For more information related to this, you can visit our contact us page.
Several environmental factors affect relief artwork:
- Moisture and humidity
- Dust accumulation
- UV exposure
- Minor impacts
- Indoor pollutants
Because of these conditions, protective sealers are recommended after the artwork has completely cured.
Choosing the Right Sealer to Protect Delicate Relief Artwork
Not every wall coating works well for relief artwork. Instead, the material of the artwork should determine the sealing product.
Common options include:
- Water-based acrylic sealers
- Matte protective coatings
- Clear polyurethane finishes
- Mineral-based breathable sealers
- Stone and masonry sealers
Although glossy finishes can create a dramatic appearance, matte sealers are often preferred because they preserve fine textures without excessive reflection.
Preparing the Surface Before You Seal and Protect Delicate Relief Artwork
Preparation plays an important role in achieving long-lasting protection. First, the artwork should be fully dry. Afterwards, loose dust should be removed carefully with a soft brush or microfiber cloth.
Next, inspect the relief surface for:
- Hairline cracks
- Loose particles
- Surface imperfections
- Damp areas
If repairs are necessary, they should be completed before applying any protective coating. As a result, the sealer bonds more effectively.
Applying Protective Coatings Correctly
The application method directly affects the final appearance. Therefore, thin and even coats usually produce the best results.
Professional application generally follows these steps:
- Clean the artwork thoroughly.
- Apply the first thin sealing coat.
- Allow complete drying.
- Apply a second protective coat if required.
- Inspect for uniform coverage.
Meanwhile, intricate carvings should not be overloaded with excess material because details may become less visible.
How to Seal and Protect Delicate Relief Artwork on Walls for Long-Term Care
Moisture remains one of the biggest threats to relief wall artwork. Consequently, controlling humidity significantly increases its lifespan.
Useful preventive measures include:
- Maintaining proper ventilation
- Repairing water leaks immediately
- Avoiding direct water contact
- Using breathable sealers where appropriate
In bathrooms or semi-outdoor spaces, specialized moisture-resistant coatings provide additional protection.
Clean Textured Wall Art Without Damaging the Seal
Cleaning should always be gentle. Instead of aggressive scrubbing, soft cleaning methods help preserve delicate textures and protect the seal on relief artwork.
Recommended cleaning tools include:
- Soft paint brushes
- Microfiber dusters
- Low-suction vacuum attachments
- Dry microfiber cloths
Harsh chemicals should be avoided because they may weaken protective coatings or discolor artistic finishes.
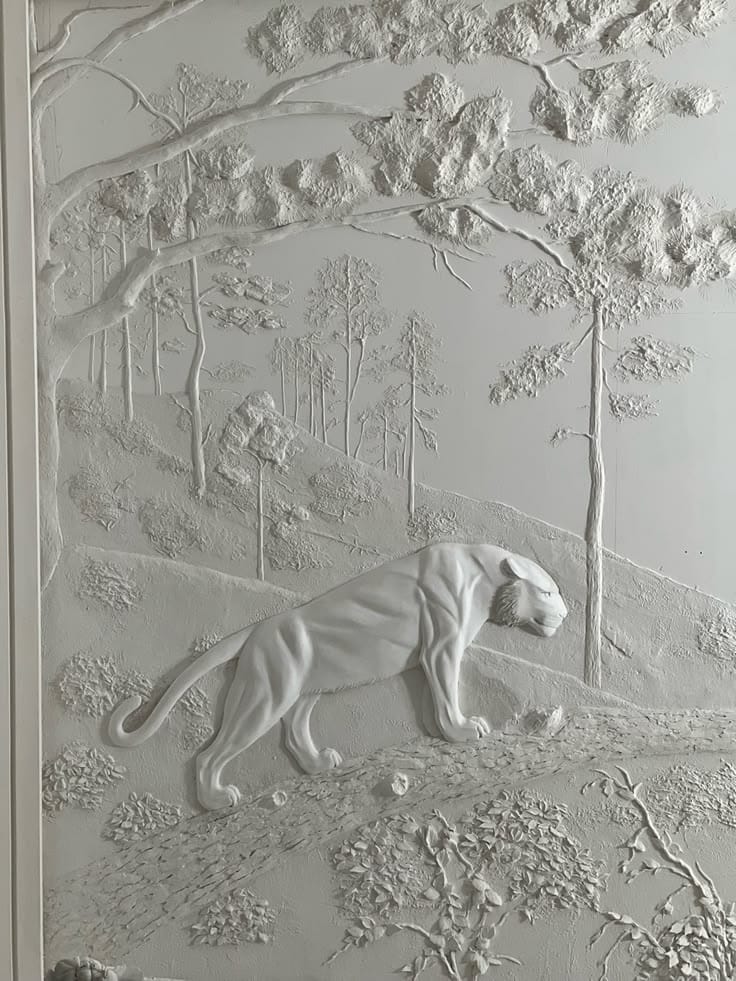
Long-Term Maintenance Matters
Protective coatings are not permanent. Therefore, periodic inspection helps identify early signs of wear.
Watch for:
- Fading
- Flaking
- Surface dullness
- Water marks
- Fine cracks
If these issues appear, resealing may be recommended depending on the artwork’s material and location. Routine maintenance also prevents costly restoration later.
Common Sealing Mistakes to Avoid
Many homeowners unintentionally shorten the life of relief artwork by using unsuitable products.
Avoid these common mistakes:
- Applying thick coats of sealer
- Using glossy varnish on textured designs without testing
- Cleaning with abrasive sponges
- Ignoring moisture problems
- Sealing before complete curing
Instead, patience and proper product selection produce more reliable results.
Final Thoughts
Understanding how to seal and protect delicate relief artwork on walls helps preserve handcrafted details while extending the life of decorative surfaces. Proper preparation, suitable sealers, careful cleaning, and routine maintenance all contribute to lasting protection.
Rather than waiting for visible damage, preventive care keeps relief artwork looking refined throughout its lifetime. With the correct approach, textured wall art continues to remain an attractive design feature for many years.
Frequently Asked Questions
1. What is the best sealer for relief wall artwork? Water-based acrylic sealers are commonly used because they protect surfaces while maintaining the artwork’s original appearance.
2. How often should you seal and protect delicate relief artwork? Most indoor relief artwork may require inspection every few years. However, the schedule depends on environmental conditions and usage.
3. Can relief artwork be cleaned with water? Only minimal moisture should be used when appropriate. Generally, dry cleaning methods are considered safer.
4. Does sunlight damage relief artwork after sealing? Yes. Prolonged UV exposure can gradually fade finishes and weaken some protective coatings.
5. Can glossy sealers be used to seal and protect delicate relief artwork? Yes, although matte finishes are usually preferred when preserving fine textures and natural surface details.
Latest Posts
Luxury Wall Murals: Bespoke Art for Sophisticated Interiors
Luxury wall murals are becoming a preferred choice for homeowners who want interiors with individuality, artistic depth, and lasting visual […]
Luxury Wall Design: Refined Textures, Artistic Murals and Modern Elegance
Luxury wall design is becoming an essential part of contemporary interiors. Rather than relying only on expensive furniture, homeowners are […]
The Modern Artist: Where Creativity Meets Contemporary Interior Design
An artist sees possibilities where others see an empty canvas. Today, creativity extends beyond traditional paintings and galleries into homes, […]
Art Studio: Where Creative Ideas Become Original Works of Art
An art studio is more than a room filled with brushes, colors, and canvases. It is a creative workspace where […]
Painting Studio in Kolkata: Where Art Meets Interior Spaces
A painting studio is no longer limited to canvases, easels, and framed artwork. Today, creative studios are increasingly connected with […]
Wall Artist: The Craft Behind Meaningful Wall Art
A wall artist does more than apply paint to a large surface. Instead, the artist studies the space, understands its […]

The app version is just a game changer. I can play anywhere on my phone without any lag. Seriously go download phplus777apk right now.
Best place for those who love big wins and great bonuses. The customer support is actually helpful and responds quickly. Give bdjuya777 a try!